Quickstart Guide
The Quickstart aims to provide users with an introduction to developing using Gitspaces. We will demonstrate all the features of Gitspaces using a Node.js app, helping developers write code, test changes, and publish those changes to their SCM tool.
Pre-Requisite
Installation
Gitspace is automatically available when you install Gitness. Installation instructions here.
Sample application
Let us go through the flow of creating a Gitspace for our sample application, which is available in our public GitHub repository at demo node.js app. Fork the repository if you want to make changes to it as part of this exercise.
Create a Gitspace
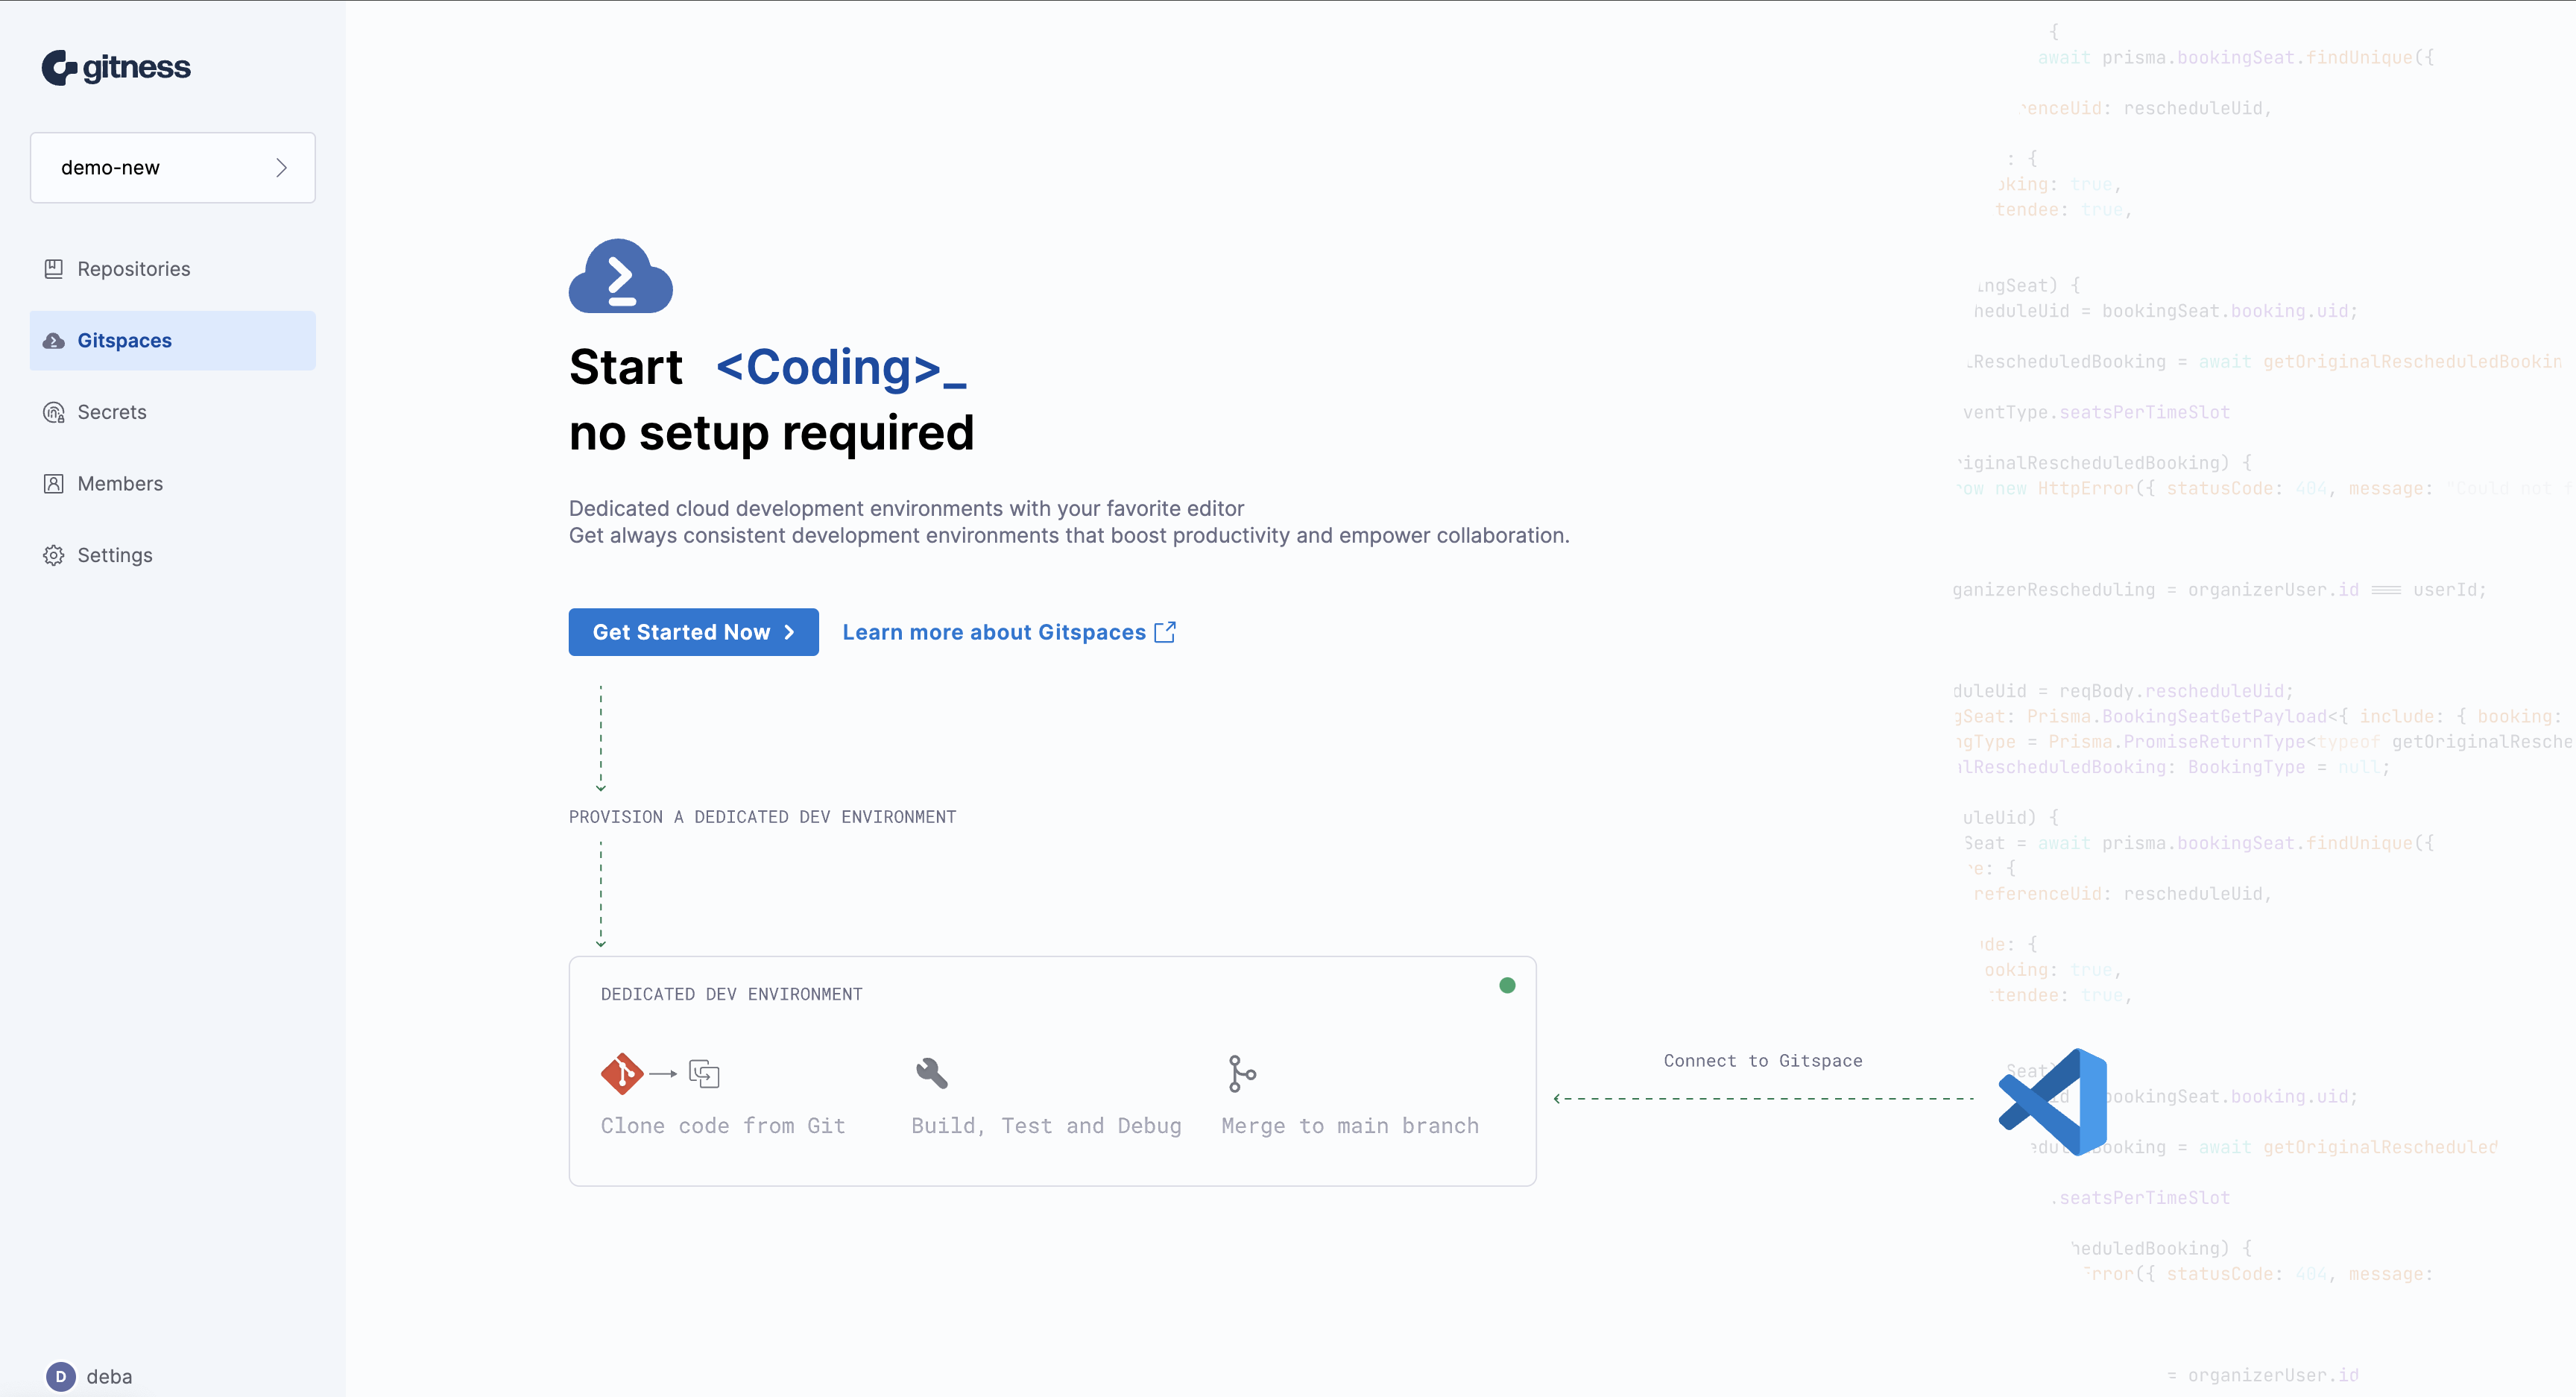
- Sign up for or Login to Gitness, and create a new project. You will see Gitspace available in the sidenav.
-
Click on Get Started Now. To create a Gitspace using the sample app:
-
Choose the Other Public Git Repositories tab.
-
Repository URL is https://github.com/harness-community/demo-repo-nm (enter URL of your fork if you forked it). Make sure the URL exactly matches the clone URL for the repository since any extra characters can cause an error.
-
Leave the default branch main selected.
-
Select the IDE and click on Create Gitspace. For this Quickstart, choose VS Code Browser, which will open up the Gitspace in a new browser tab
-
-
After clicking on Create Gitspace, you’ll be redirected to the Gitspace Details page, where you can view the events and logs as the Gitspace is being created. Once it is ready, you can open the Gitspace by clicking the Open VS Code Online button at the top right of the page.
-
In the new browser tab, click on Yes, I trust the authors and Mark Done to get started. You can then start coding in the IDE as you normally would.
Developing in Gitspace
Now, let’s install dependencies for the sample app and run it. We will also make changes to it and commit back to the fork.
Run sample app
-
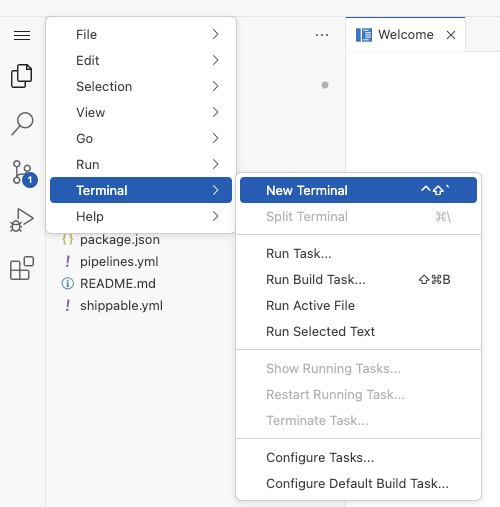
Open a new terminal.
-
All dependencies, packages, tools and libraries needed for this application were installed while provisioning the Gitspace based on the config in devcontainer.json. To run the sample app, run the following command in the terminal:
npm run dev
Your application will be available at proxy host 3000. You will see a message at the bottom right of your IDE with a link to open the app in browser.

The application shows the Harness canary in a variety of fun situations and poses.
Making changes to sample app
To make changes to the application, you should have forked it first and then created a Gitspace for the fork.
Steps to make changes and commit to source control:
- You can make some changes to
haiku.jsonsuch as delete one of the canary sections below. Save the file.
    {        "text": "traffic in bangalore,\ncondiser fying to work",
             "image": "canary-flying.png"
    },
-
In the Terminal, configure your GitHub credentials
-
git config --global user.email "you@example.com" -
git config --global user.name "Your Name"
-
- Now that you've made a few changes, you can use the integrated terminal or the source view to commit your work. We will use the Source Control view for this example.
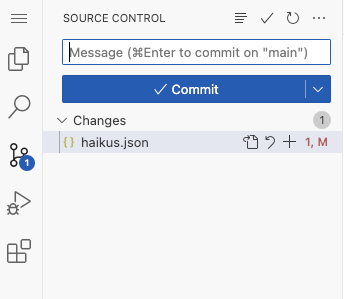
- To stage your changes, click
+next to thehaikus.jsonfile, or next to Changes if you've changed multiple files and you want to stage them all. - To commit your staged changes, type a commit message describing the change you've made, then click Commit.
- Now Sync Changes, it will redirect you to login and authorize to your GitHub. After authorization, your changes will be committed to your fork.
And that’s it! You have successfully used Gitness Gitspace for development